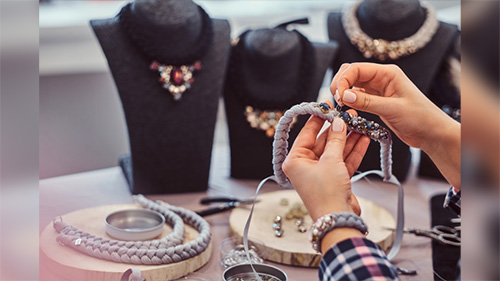
Pencil Sketch of Jewellery Designs! If you are planning to sketch a necklace design, there are lots of processes to design a necklace. This is for the reason, every jewellery designer has their own style and techniques to design a necklace. Know how to draw jewellery with the guide below.
Designers work on various papers for pencil sketching of jewellery designs like – white paper, black paper, blue paper or butter paper for tracing. Walk with me through the blog and learn jewellery design sketch.
You can become a successful designer through formal education. To become a professional, you will require some good insight of technical knowledge, that’s where Hamstech offers you a jewellery design course.
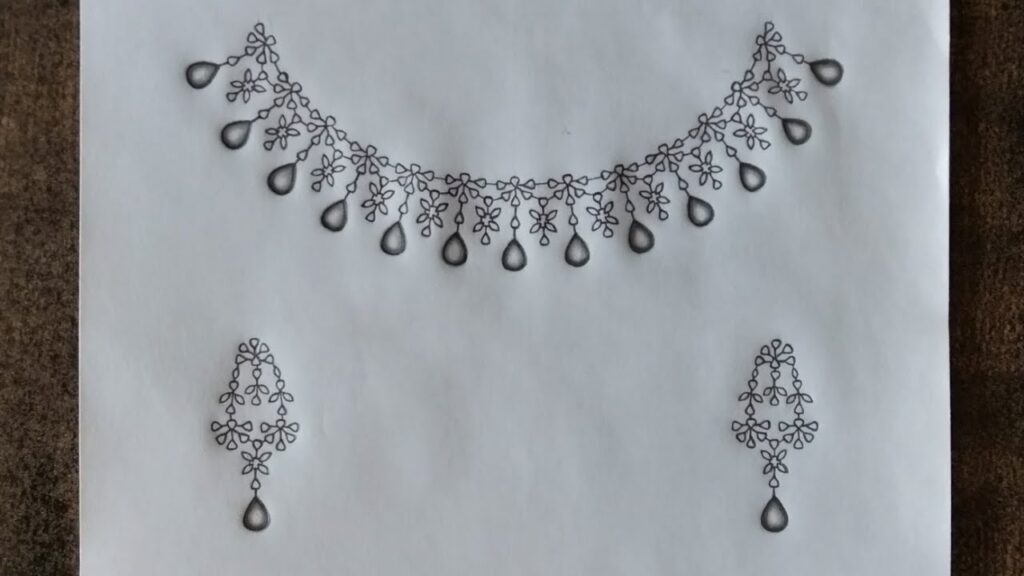
How To Draw Jewellery Necklace Design?
Before you start pencil sketch of jewellery designs, you can refer to the online websites and see the full video from first to last. If you are serious about learning jewellery design sketches, below is the step-by-step guide for a pencil sketch of jewellery designs. Here is the guide on how to draw jewellery?
Step – 1
Gather all the material. Take an A4 size paper and 0.5 mechanical pen pencil and be ready to draw a necklace design. Before you start sketching the jewellery, fold the paper horizontally.
Step – 2
You will have to create a rough sketch on the paper before you start with the final drawing. You can start jewellery design sketch from centre to side or vice-versa. This is because, as the concept is very important for sketching, u can start this design from the centre part according to the concept. If the upper part of the necklace is ready, i.e; the choker part, then you can start with the centre portion where the pendant design should be sketched. This pendant design is attached to the main necklace.
Step – 3
If you are done with the final lines of jewellery sketches you can start colouring with a watercolour pencil. You can use the pencil colour because it requires a little time to finish. The tip is if the design is the same on either side of the necklace from the centre then you can fold the paper in half horizontally in order to duplicate it on the other side.
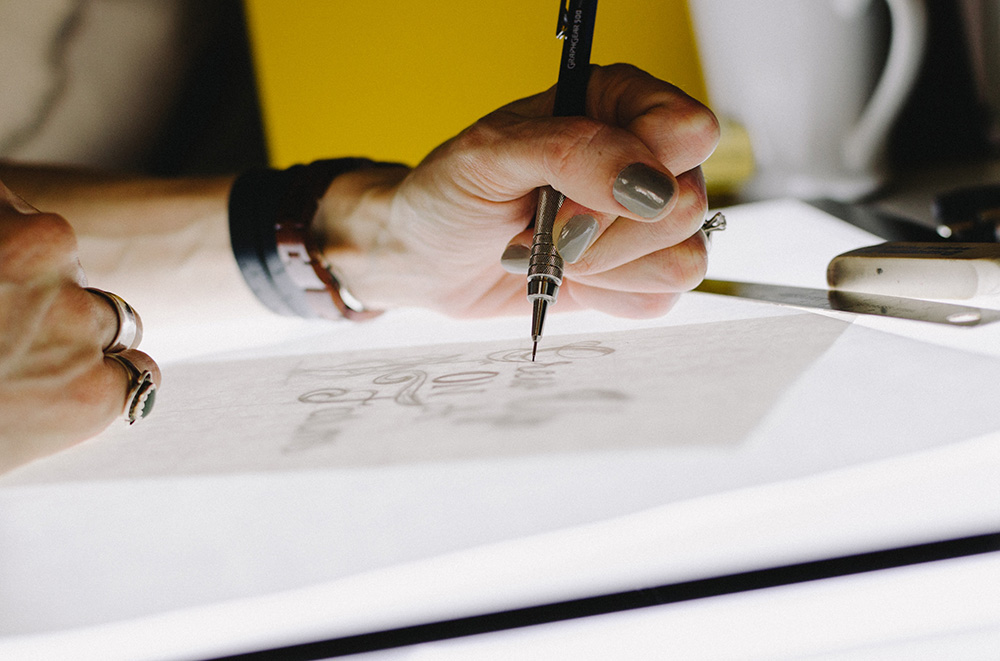
Step – 4
When the duplicate is done on another side, it might look very light. Now you have to give some colour touch up and finish with a dark line. But the saddest part is that this kind of design might be time-consuming and take 1 to 3 hours to finish. Once you are done with the necklace jewellery design sketch you can go to the next step which is matching earring design jewellery sketches.
After a pencil sketch of jewellery designs, the next step is making jewellery designs
How to make jewellery that is aesthetically pleasing and that you can confidently sell? Or use it yourself or happily present it to your friends and family.
Jewellery Making Tools
In jewellery crafts, tools are used in a number of applications for handling materials, including tasks like – bending, folding, cutting, attaching and more.
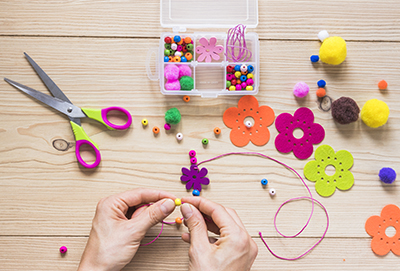
Credits – Freepik
Jewellery Making Techniques
There are some jewellery-making techniques that every jewellery designer uses at least once in their design. These techniques are dependent on the type of jewellery you are using and the type of materials. Also, the shape and size matter. Let’s have a look over the popular types of jewellery-making techniques.
- Knotting
Knotting plays a vital role both functionally and aesthetically in beadwork. Know how to knot right and make it correctly to last longer and the strands won’t unravel.
The type of knots might vary depending on the stitch and the kind of thread and bead sizes you are using. There are five knots for beginners: square knot, surgeon’s knot, overhand knot, half-hitch knot and lark’s head knot. You can use an adjustable slip knot for the bracelets.
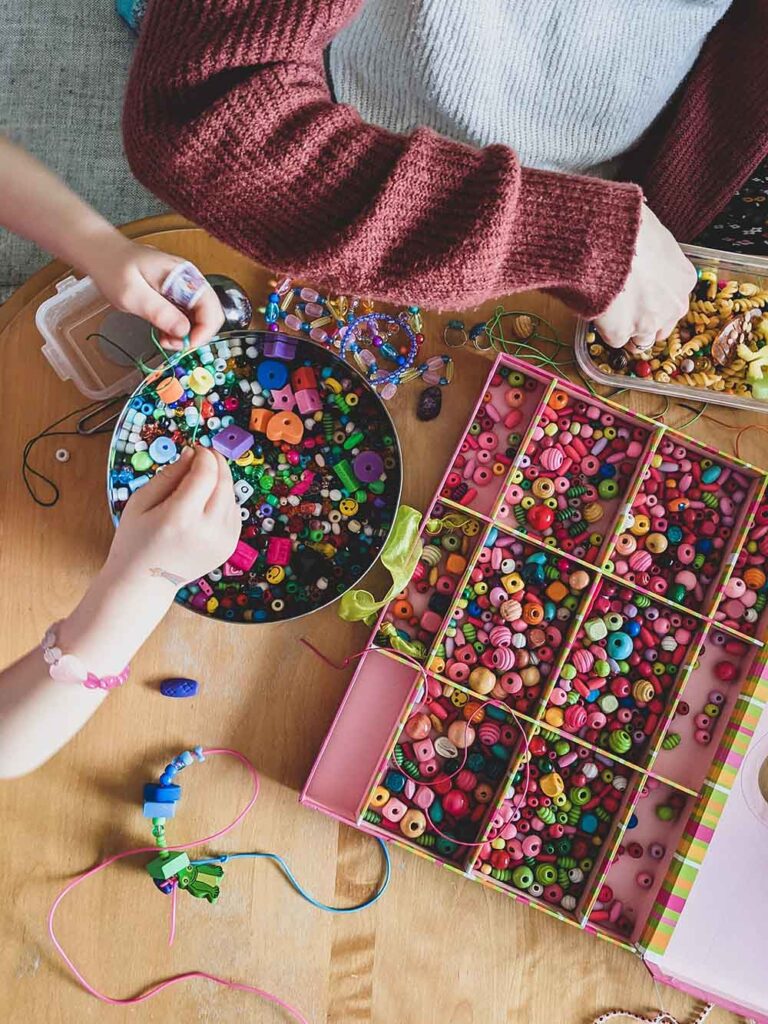
- Stringing
In jewellery making, bead stringing is one of the fundamental skills. It might look simple as putting beads onto a string, but there is a bit more to beading jewellery. Understand how to properly string and gain the foundation to build your jewellery-making skills.
To get the basics, know different types of beads with various shapes (round, bi-cone, tube, square, disc, barrel, etc.) and sizes; all about findings: from bead caps and cones to clasps, headpins, links, earring hooks and more; about stringing materials and the essential tools you’ll need to make jewellery.
Pro tip: Add a beading mat to your supplies list because while working with beads, it will keep beads from straying off.
- Looms
You can really have fun while making jewellery by joining beads, try using a jewellery loom. This is basically stringing beads both horizontally and vertically in a grid to produce wider sections. You can create interesting geometric patterns with the looming technique by incorporating various colours, materials and styles of beads.

Jewellery Design Courses
How to draw jewellery and become a creative designer? Apart from creative skills, one will require a degree for designing beautiful pieces and get some technical knowledge through formal education. Aim to become a jewellery designer and leap into a jewellery design course.
Also Read: WAYS TO PUT YOUR SKILLS IN DESIGNING SOUTH JEWELLERY DESIGN!
For the right insight of knowledge learn from professionals with Hamstech. Join one Hamstech offering photography courses. Grab the wonderful chance to learn from professionals along with some practical training through webinars and workshops.
Why late? Join Hamstech Jewellery Design Course. Check out the Hamstech app to get details about our courses and get information about the curriculum and mentors and the nearest Hamstech campuses through our app. Download Now and get started!

