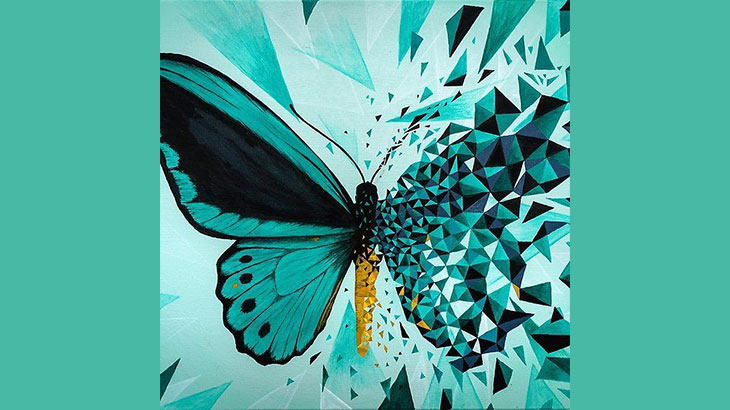
Monochrome photography. Here is a new way to add emotion to your photos! To give it a try; experiment with monochromatic colours that will improve your emotions in images.
So, I’ve decided to provide photography enthusiasts with the appropriate knowledge of what monochrome photography is and how to shoot it. Keep reading!
Being a professional photographer is enjoyable with innovative. But you will need to hold some good professional photography skills and techniques, which you will learn while studying a photography course. But make sure you choose the one that’s leading, like – Hamstech. Before that, let’s start with monochrome photography.

What is Monochrome Photography?
Monochrome photography is nothing but any photo comprising only the hues of one specific colour is monochromatic. You can do it in two ways. Accomplish this effect by using post-processing software or by taking a photo of a scene that’s containing only one colour.
The colour that you are using in your monochrome photography should convey the mood or atmosphere. Black & white and sepia (photo contains only reds or browns) photography are the perfect examples of monochrome photography, but not just limited to those. Use any colour that you wanted to and create a monochromatic photo.

How to Shoot Monochrome Photography?
Monochromatic photography isn’t tough due to the fact that you’ll most effectively integrate colourings in images. But, it’s better to learn how colours combine well.
Just find the scene to capture and comprehend which emotions it conveys. You’ll be surprised by how many photos you can get to take; look at buildings, brick walls or cars, even concrete floors or dirt roads. All of these are good subjects, but you can find scenes that contain shades, tints and tones of one colour.
Experiment with textures, light and composition and it’s ok if your image includes small amounts of other colours as well, just those small amounts won’t kill your monochromatic look.

Tips for Monochrome Photography Shooting
there are several important things to consider in monochrome photography shooting:
Subject Matter – Monochrome works fine with a strong subject in the image, one which draws and holds attention. It depends on taking gain of its cap potential to emphasise the foreground.
Tonal Range – Ensure that monochrome images don’t simply display one colour to seize scenes with a huge variety of tones.
Lighting & Shadows -They are also equally important in monochrome photography shooting as they will provide contrast. But carefully set the contrast appropriately on your camera.
Textures, Lines & Angles – In monochrome photography, you have the freedom to play out dramatically.
Shapes & Patterns – With a monochrome theme, you are able to beautifully capture the shapes and patterns and do well behind prominent subjects.

Monochrome Photography With Photoshop
There is an alternate way to create monochromatic photos. It’s nothing but – Photoshop. All you will need to do is to convert a colour image to black and white and then replace black with any colour of your choice. This way you can get some interesting results and here is how to do it.
Step – 1
As I said above, first, you will need to convert it to grayscale. To result in the best, use a simple image because too many details in an image will make it look messy.
In the image, dropdown go to mode and select grayscale. Photoshop displays a pop-up to discard all colour information and then your image will turn into a black-and-white photo.
Step – 2
Now you will have to adjust the curves, which is optional, but doing it will lead to a better image. Just add contrast to the photo by creating an S-curve, especially for a lighter colour.
In the same Image dropdown > in Adjustments select – Curves. Now a pop-up displays before you where you will need to click in the middle of the diagonal line to create an anchor point.
Make two more anchor points, click and drag to create an ‘s’ curve. The more you drag, the more contrast your photo will produce.
Step – 3
Finally, convert to duotone and experiment with monochromatic colours.
In the same Image dropdown > Mode and select – Duotone. Then a window will pop up in which you will need to select monotone from the dropdown menu, then pick any colour of your choice. And there is your monochromatic photo.

Final Words
As we promised to talk about Hamstech later, it’s time for it now. Why Hamstech would be the right choice? Because –
- It is the leading design in Hyderabad with 30 decades of experience
- Learn from industry-leading fashion designer, Avinash Gowariker
- Learn with practical learning methodology through webinars and workshops
- Easily step into the professional career with 300+ placement partners
- Gain real-time experience and prove talents with the annual event – Pixel Perfect Show
- Able to choose from 4 different photography courses for beginners ranging from bachelors to diploma to certificate.
- Can be a part of interactive guest lectures with professionals
If you want to feel the comfort at home and learn the concepts, tips and techniques with all these advantages. Then this is possible with the Hamstech app which possesses all the above features. I know you are occupied with all the advantages that it offers. Then why late? Enrol in your basic photography course and become a professional.

