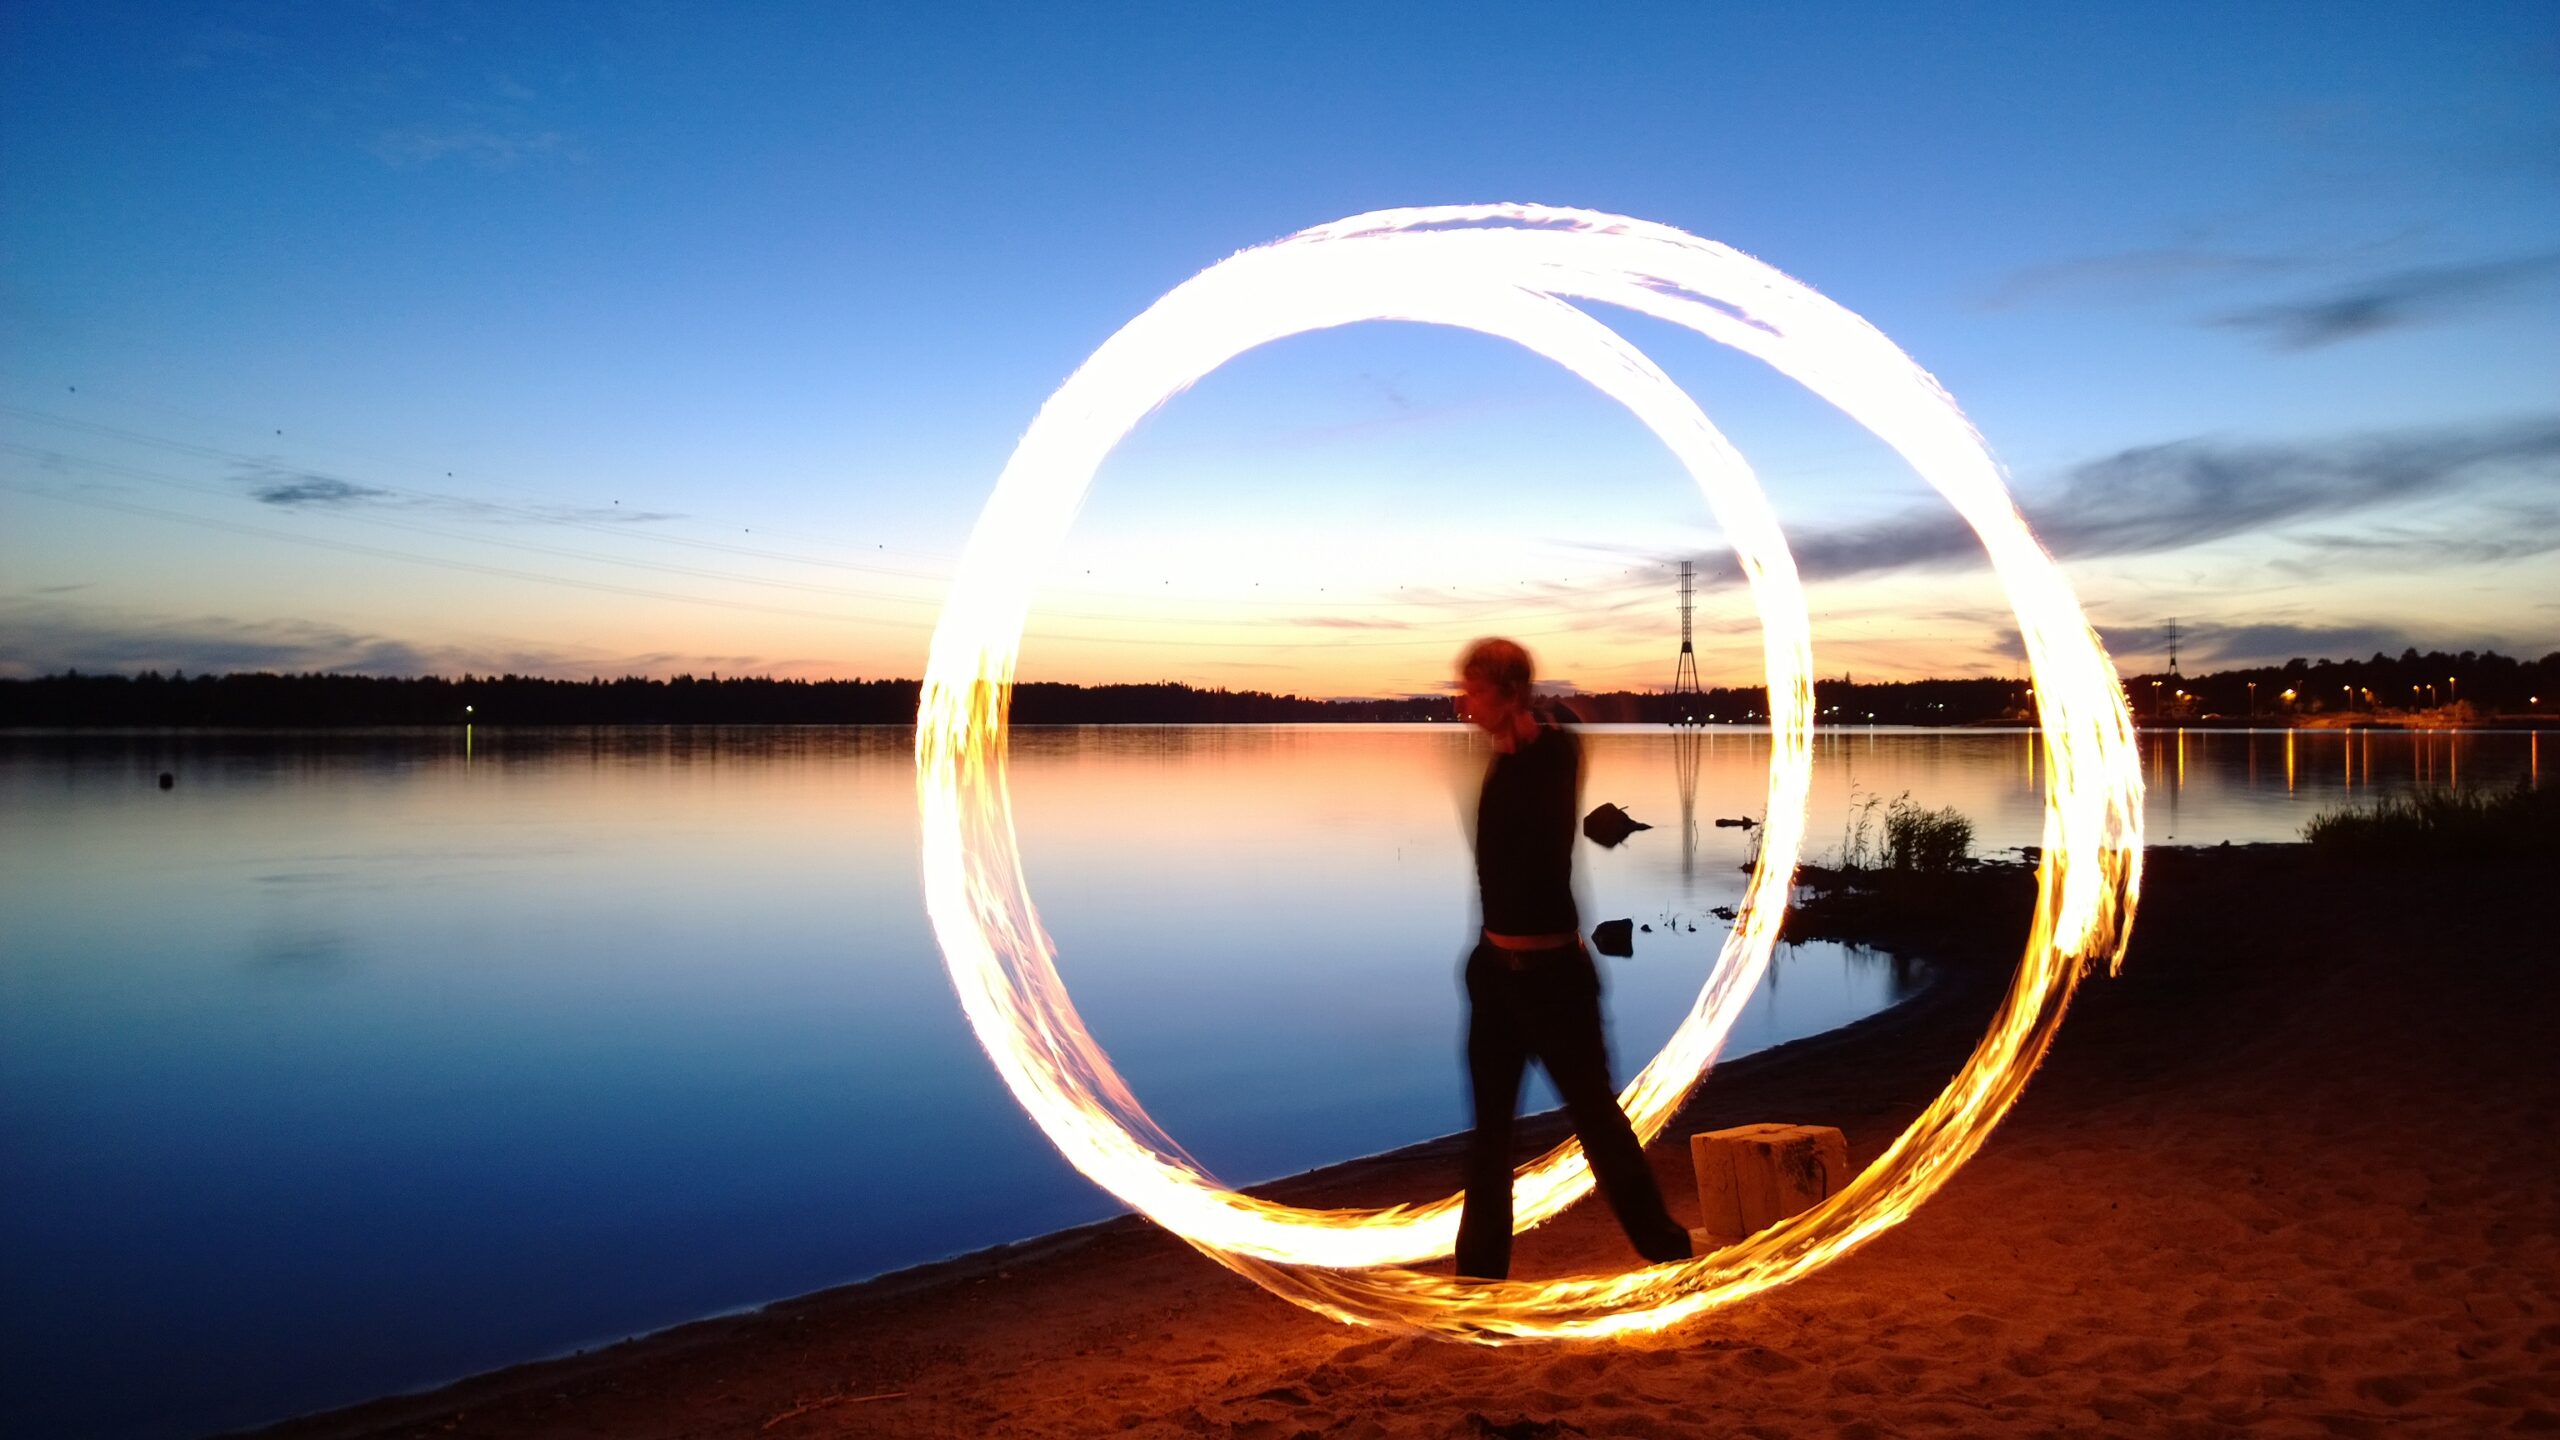
Photography institute is an ideal platform to enhance your photography. Long exposure is one of the many wonderful techniques used to create breathtaking photographic effects. This technique has spawned an art in itself with its appeal is growing by the day.
Long exposure is achieved by opening the camera shutter for a long period of time. This lets more light into the camera, making moving objects in the frame blur while stationary objects stay sharp. All things considered, the resulting photograph has an amazing moving pattern effect beside the stationary object. This is among the many visual effects taught across the photography training courses in Hamstech.
Trial and error is the basic way of perfecting this technique. Besides photography classes, a lot of outdoor clicking is required to perfectly construe this method.
Here are a few pointers on how you can master long exposure like a student at a photography institute does:
Setting the Scene
Typical scenes for long exposure photography have prominent moving and stationary elements. So, flowing water, moving stars, fireworks or a ferris wheel could be some of the ideal subjects of long exposure photography.
You’d need a DSLR camera and a tripod to keep it steady during the shoot. You’d also need to fix the shooting parameters like the perspective, point of entry and exit of objects in the frame. This will constitute the composition of the shoot.
Shutter Speed
The slower the shutter speed, the more blurred moving objects are, in the final image. So, for a smooth rendition of flowing water, you may try a shutter speed between 10 and 15 for an optimum effect. For different moving objects, different exposure (ie. shutter speed) levels should be tried, to reach the desired effect.
Manual clicking could cause a slight shake that could affect the picture. To solve this, a timer can be set at 2 or 5 seconds so that you get time to release your hand after clicking. This would steady the camera to give you a flawless shot.
Aperture
This part of the anatomical study of photography is taught in every photography school. Aperture is the size of the hole in the middle of the lens that decides the amount of light that enters the lens. Greater aperture allows more light and hence results in a brighter picture. You must experiment with the aperture to learn to control the brightness of the photo.
ISO
In one line: the lesser the ISO, the clearer the picture. ISO is a numerical quantification of the camera’s sensitivity to light. For instance, if the aim is to get a picture in bright daylight, setting the ISO to a minimum helps. If the aperture is too small or if it’s a night shot, with less light available, increasing the ISO could get better pictures.
Though a DSLR has auto settings, to learn and perfect long exposure, it’s best to practice with manual settings. This produces a wider range of practical knowledge too.
Hamstech Institute trains its photography students in numerous specialised techniques that they can enjoy and master to become inspired as well as innovative photographers.


