In photography, it matters how you look at the subject. More precisely, the angle and distance at which you observe the subject makes a lot of difference in the composition and presentation.
The angle and distance of a shot is collectively referred to as ‘perspective’ in photography. It’s one of the basic topics that is discussed in photography classes. The significance of perspective lies in the fact that each change of perspective of the same image gives it a unique interpretation. Perspective also brings dynamism into photographs. Perspective photography shines focus on one specific element with respect to the rest.
Properties that you can use for perspective photography:
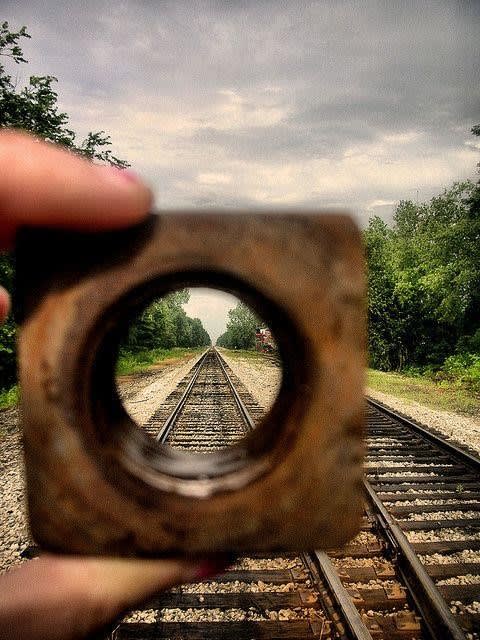
- Rings, tubes, pipes are objects that you use to set your frame and click pictures by picking your focus object. You will see a lot of wedding photographs that are clicked by setting these objects as their points of focus.
- Use your hands as a measure for focus objects in your frame and create an illusion of varying sizes.
- If you are working outdoors use elements from nature like leaves, trees, bushes, water, flowers as your props for great pictures.
When it comes to creative techniques in photography, students in photography training courses experiment a lot with perspective, which then becomes a highly versatile factor that can go along with many other camera settings.
Perspective in each photograph varies and hence, a fair idea of different types of perspective will be very helpful.
So let’s take a look at different types of perspective in photography with some examples of different photography perspectives:

The Eye Level Perspective
The most common types of perspective is the eye level. Pretty simple and easy, just decide how far you want the subject to be. The eye level is the level from which you take a picture standing. It’s every amateur’s beginning point.
Remember the converging effect of say, a road or railroad into the distance? That’s called linear perspective, which is a possibility from eye level.
Linear Perspective
The most apparent type of perspective and the one most familiar to photographers, is made when sets of parallel lines appear in the photo. Linear perspective occurs when the two parallel lines seem to converge as they get farther away from the viewer. Our brain knows that they are parallel and therefore never touch, but they appear to. So, they must be getting farther away.

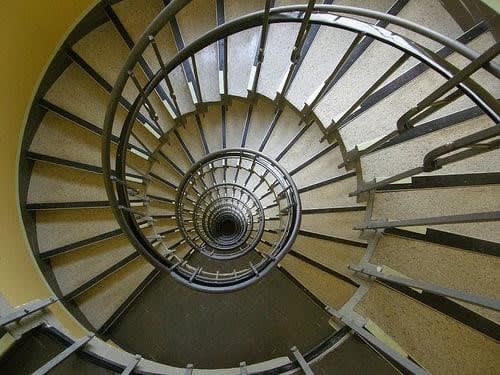
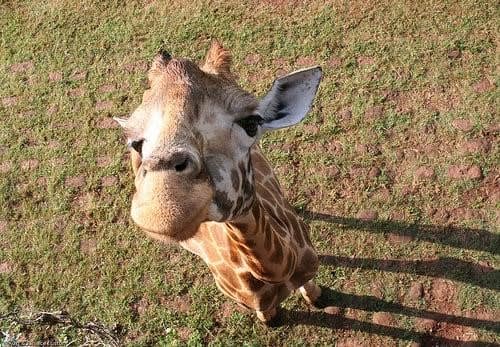
Top View Perspective
Simple to understand, this is when the camera is placed at a relatively high point, from where the subject below is shot. This kind of perspective sets the size of the subject smaller, inducing a sense of appeal.
Possibly the only time you shouldn’t be feeling guilty about looking down on others. Different perspective images bring a different types of perspective variation in the photographs.

High View Perspective
Here the camera is set at the low point, like the ground, at the subject’s base. With this perspective, the subject looks bigger and towering, which induces feelings of authority or command. Imagine those pictures of trees taken from its foot. It looks so overpowering and grand.

Hidden Perspective
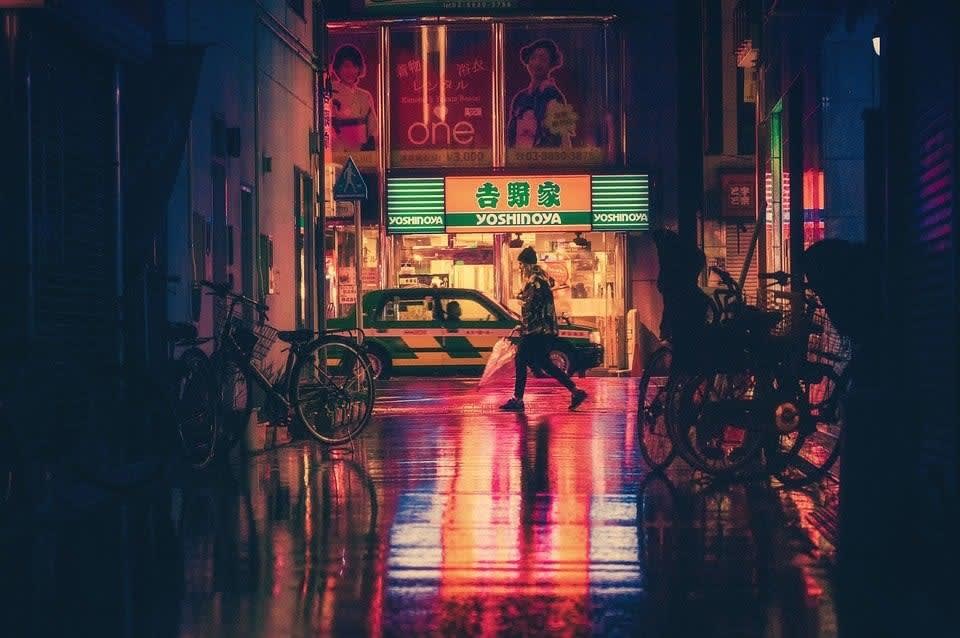
Hidden perspective utilises the presence of a foreground object through which the main subject is shot. Here, the camera closes in on the foreground object to the point of having it blurred, while getting a sharp image of the subject behind it. Imagine taking a picture of a sleeping baby through the gaps at the sides of the crib.

Framed Perspective
In a framed perspective, the subject literally appears framed by something in the composition. Imagine a man sitting behind a window being photographed. The window creates an involuntary frame around the man in the photo.

Overlap Perspective
When you shoot with an overlap perspective, one object in the composition gets obstructed by another. Imagine a picture of a line of soldiers taken from the front. The faces of soldiers from the second one get obstructed by the one standing in front.

Rectilinear Perspective
How do you create a curved perspective of a flat space? Use a fisheye lens and shoot a landscape like a house. The resulting picture will show a curved effect around the house, which is known as rectilinear perspective.
Perspective photography also says a lot about the photographers thought process behind those different perspective images. While at a photography school, experimenting with perspectives will ultimately give you the ability to decide the best one for each shot. However, even without learning at a photography training institute, the concept of perspective is not very hard to understand and practice. Try out some of the examples of different photography perspectives listed above to get a better understanding.
Perspectives from a Physical Standpoint
It is easy to fall into the habit of photographing every scene from eye level. You notice something that catches your eye and you want to capture the fleeting moment.
There are things you can do to change the perspective of an image. By moving around your camera, you can gain a better viewpoint than your usual eye level. But if you want your photography to make an impact, you need to move!
Move Left and Right – When you come across a scene, don’t go for your first idea. Take a step left or right to find a better vantage point. Even moving one meter can have an immense effect on your image. If you move a small distance, the background doesn’t change much. But the foreground does. The closer the foreground, the bigger the impact.
Move Up and Down – Change your position or the position of your camera. That way, you can find some interesting and new perspectives. Imagine you are photographing a street scene. You decide to get down to the perspective of a medium-sized dog. You will look at the world in a whole different way. We all observe the street through the same eyes, day in and day out. But change your vertical position and you have an interesting take on a mundane place or scene.
Move Your Angle – Changing your angle allows you to see and show the world from a different aspect. Living in Budapest, I am shocked to see how many people don’t look up at all. All the interesting building details are above the first floor. You won’t see these until you stop looking in front of you all the time.
The next time you click, try to bring in some variety with different perspective images. The results will be amusing and may even help you get the depth of meaning you look for in a picture!
Since there is so much to learn in this field, it is important that you choose the right course and college to pursue. Hamstech, with its experience of over 29+ years in the field of creative education, is known as one of the best institutes to learn Photography. Our course in Photography is perfect for beginners and if you want to improve your skills. Hamstech offers you different courses like – BA Hons, Short term, certificate and weekend courses, which you can pursue either online or regular. With our constant support from our professionals and celebrity mentor Avinash Gowariker, you can enhance all your photography skills. By the end of the course, you can be placed in one of our 200+ placement partners, which will be a good start for your career.
Avinash Gowariker is an Indian photographer who has predominantly worked in the Indian film Industry. Is one of the most celebrated photographers in Bollywood because of the distinguished contributions he has made through his photographs. Through Hamstech’s Photography classes, he will share insights into this competitive industry and his experience working with some top brands.
So, why wait? Join now in our Hamstech Photography Course and turn your passion for photography into the profession. Enroll now!

